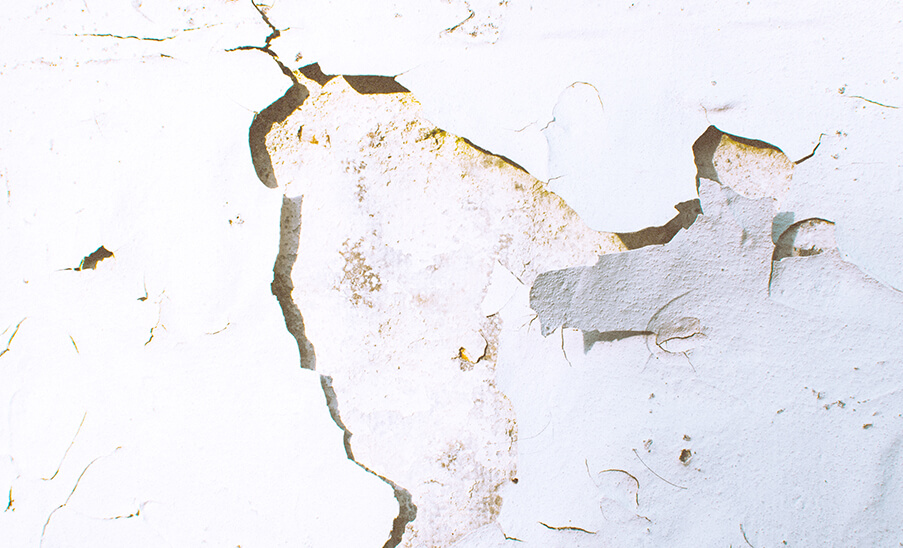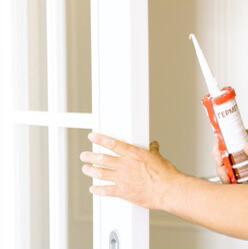
Accidents happen, and sometimes our walls end up with unsightly holes. Whether it’s from a doorknob mishap, furniture bump, or an attempt at hanging artwork gone wrong, fear not! With a little know-how and some basic tools, you can restore your drywall to its former flawless state. In this blog post, we’ll provide you with a step-by-step guide on how to repair drywall holes like a pro.
Step 1: Gather Your Materials
Before diving into the repair process, gather the necessary materials. You’ll need a putty knife, sandpaper, joint compound, a drywall patch or mesh tape, and a primer and paint that match your wall color.
Step 2: Prepare the Hole
Start by removing any loose debris or damaged drywall around the hole. Use a putty knife to gently scrape away any loose edges, creating a clean surface for the patch to adhere to.
Step 3: Apply the Patch or Mesh Tape
For smaller holes, use a self-adhesive drywall patch. Center the patch over the hole, pressing it firmly onto the wall. For larger holes, cut a piece of mesh tape slightly larger than the hole. Place the tape over the hole, ensuring it covers the entire area.
Step 4: Apply Joint Compound
Using a putty knife, apply a thin layer of joint compound over the patch or mesh tape. Smooth it out evenly, feathering the edges to blend it with the surrounding wall. Allow it to dry completely according to the manufacturer’s instructions.
Step 5: Sand and Repeat
Once the joint compound is dry, lightly sand the patched area with fine-grit sandpaper. This helps achieve a smooth and seamless finish. Wipe away any dust, then apply a second coat of joint compound, extending it slightly beyond the first layer. Repeat the drying and sanding process until the patch is flush with the wall.
Step 6: Finishing Touches
After the final coat of joint compound is dry and sanded, inspect the repair for any imperfections. Use a damp cloth to wipe away any remaining dust, ensuring a clean surface. Apply a primer to the patched area to seal and prepare it for painting. Once the primer is dry, paint over the repaired section, matching the color and texture of the surrounding wall.
Repairing drywall holes doesn’t have to be a daunting task. With the right tools and a systematic approach, you can restore your walls to their original beauty. Remember to take your time, allowing each layer of joint compound to dry properly before moving on to the next step. By following this step-by-step guide, you’ll be able to patch drywall holes like a pro, leaving your walls flawless once again.


Hi, this is a comment.
To get started with moderating, editing, and deleting comments, please visit the Comments screen in the dashboard.
Commenter avatars come from Gravatar.